Welcome to my copper pipe lights DIY, as most of you will know if you follow me on Instagram (if you don’t you totes should www.instagram.com/carafay_ ) that the beginning of this year has been nothing short of HECTIC! We moved flats and with that came a whole lot of admin and was not the smoothest move of them all. Included in the mix of this has been wedding planning which also hasn’t been so smooth sailing. We are finally settling in and of course no home of mine is one without a little DIY added into the mix.
In our old flat I DIY’d our bedside lights but I knew when we got to the new flat I needed to do something that didn’t involve drilling into the walls as they’re a creamy colour that I would never be able to colour match on my own! After hours of Pinterest scrolling I found my copper pipe inspiration and off to Builders Warehouse I went.
These were incredibly easy to make, with the right tools and measurements anything can be made with these copper beauties! I made use of the Hoi P’loy lights I had already DIY’d so I didn’t need to purchase any of the light fixtures just the copper pipes, copper joiners and copper cutting tool thingy.
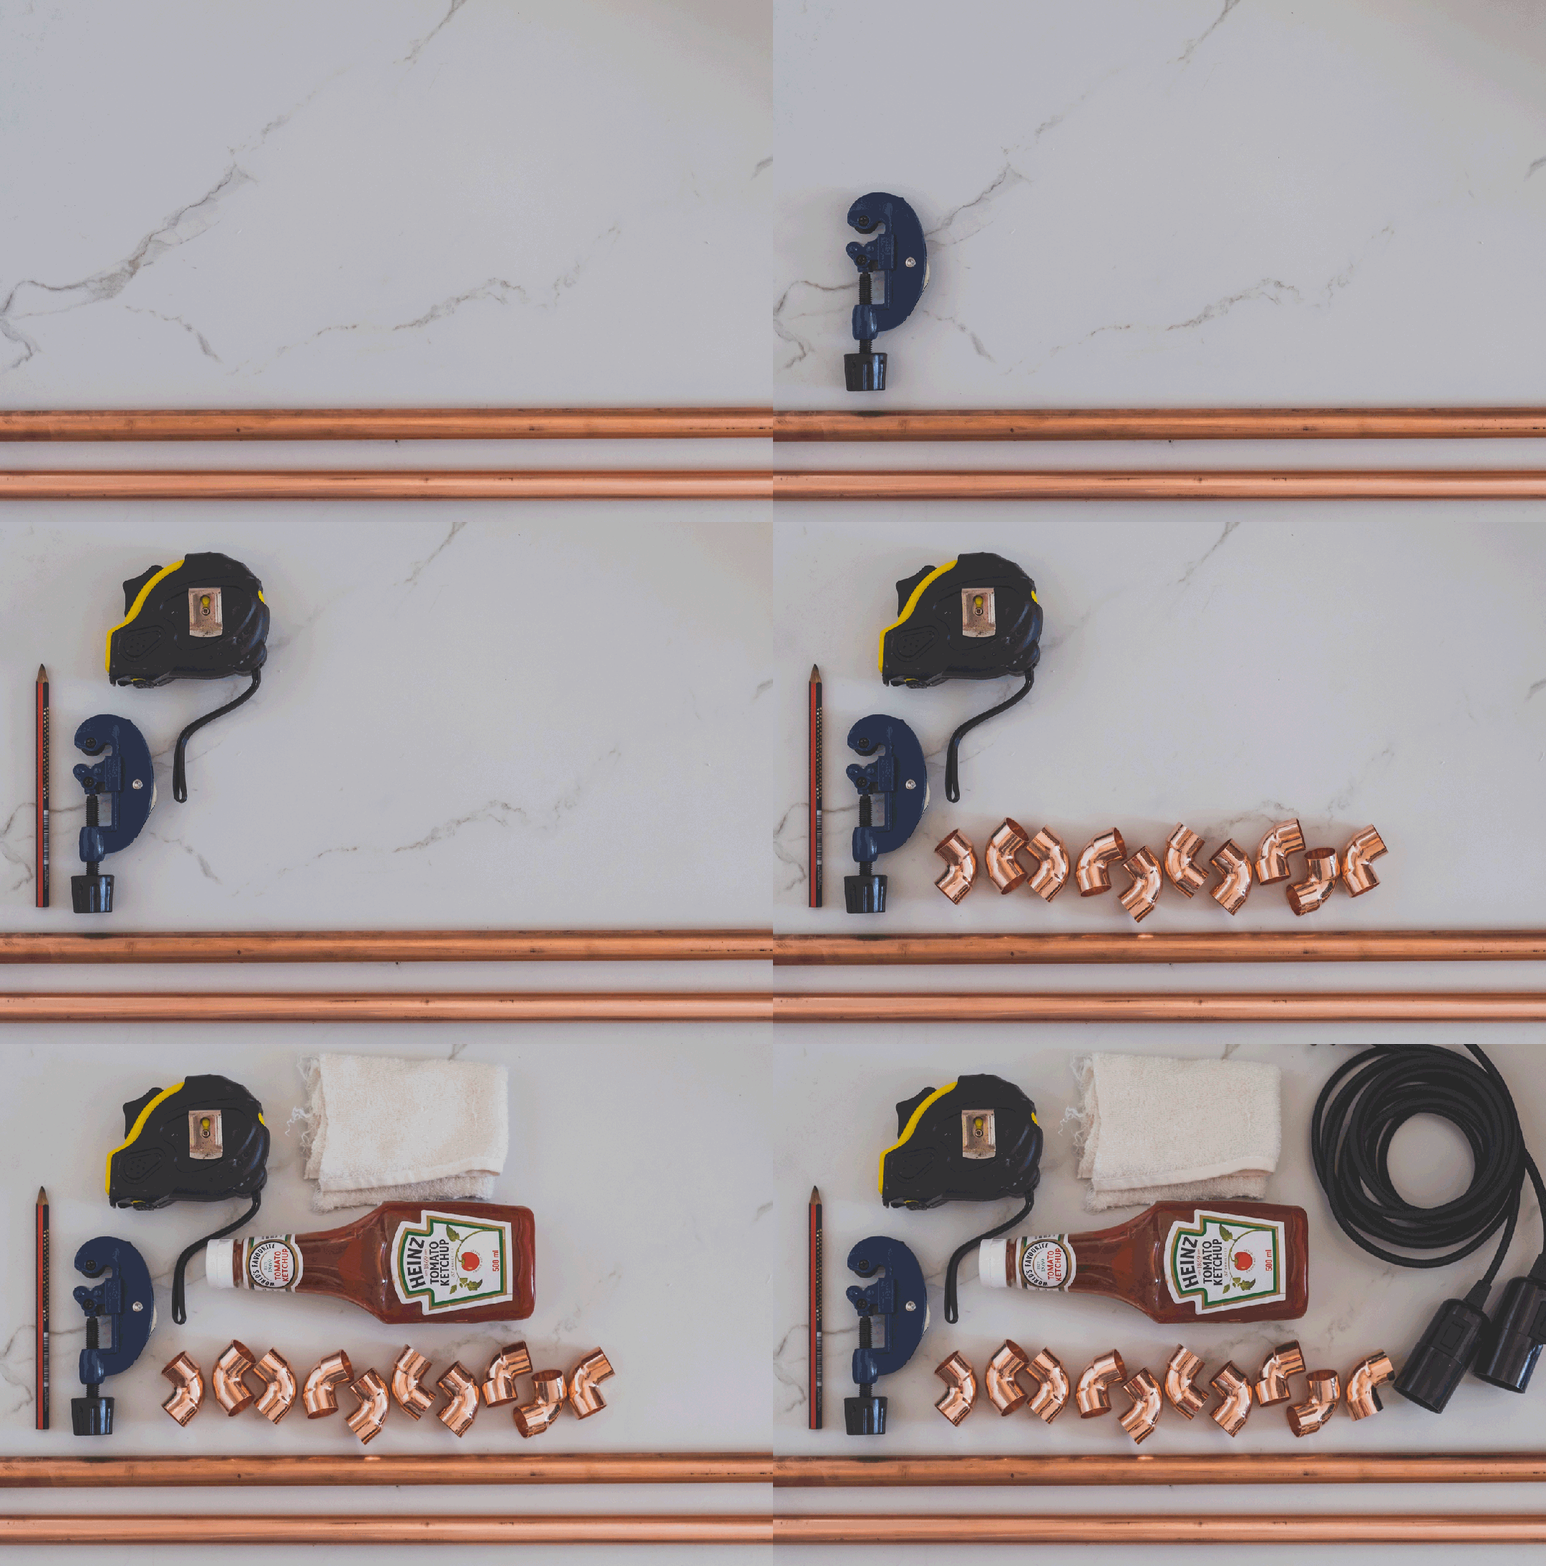
Things you will need:
- Copper Pipe
- x10 Copper Joiners
- Copper pipe cutter
- Tomato Sauce / Acetone

Step One:
Copper pipes almost always have some markings on them to get rid of these you can use acetone and/or tomato sauce. The tomato sauce actually brings back the shine in the metal.
Step Two:
Measure, mark and cut the pipe into the dimensions you require I did; x1 48cm piece, x1 6cm piece, x1 8cm piece and x3 15cm pieces.
Step Three:
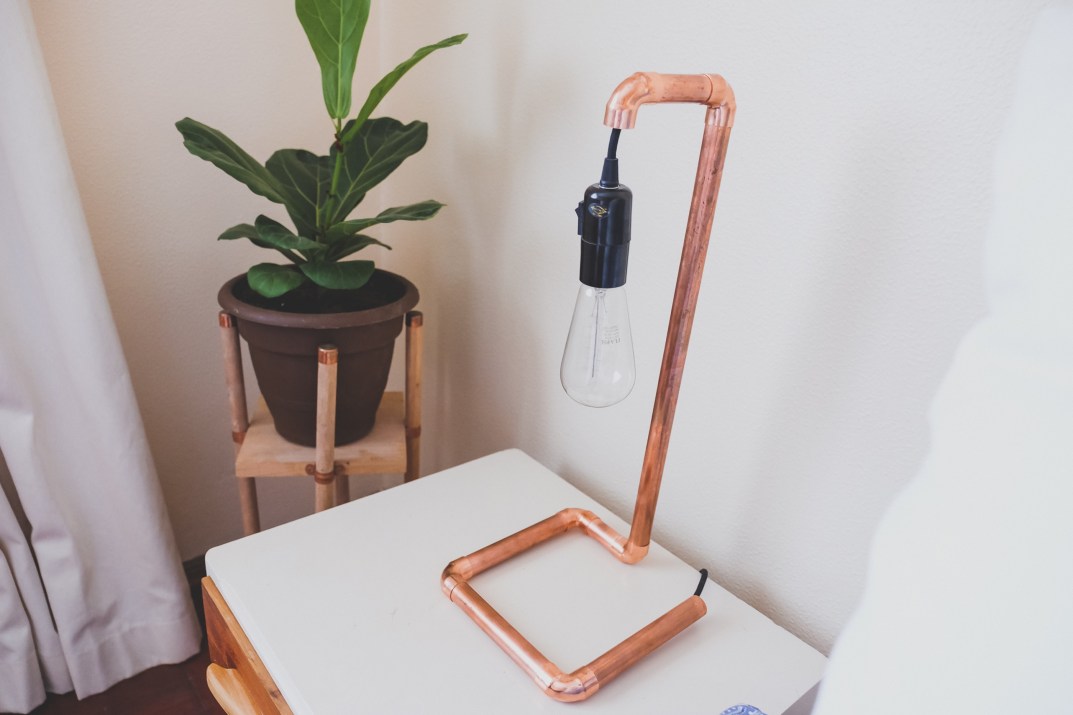
Thread your fixture into the pipe and joiners. TIP: If the joiners are loose at all just add a little super glue and they’ll be perfect!
Step Four:
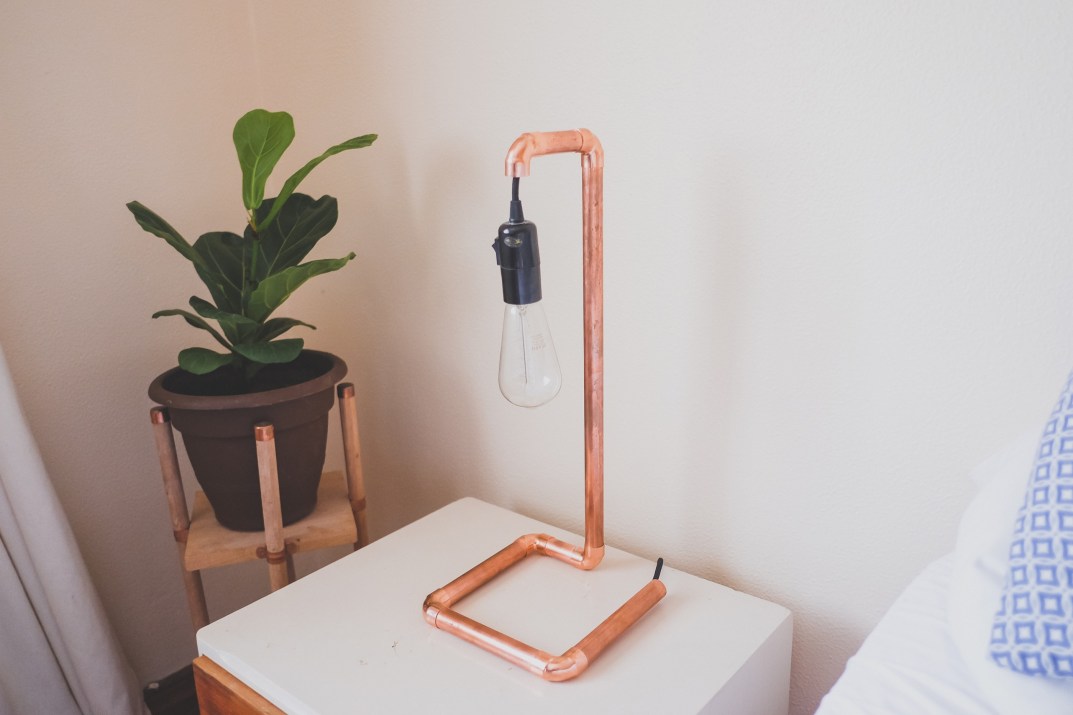
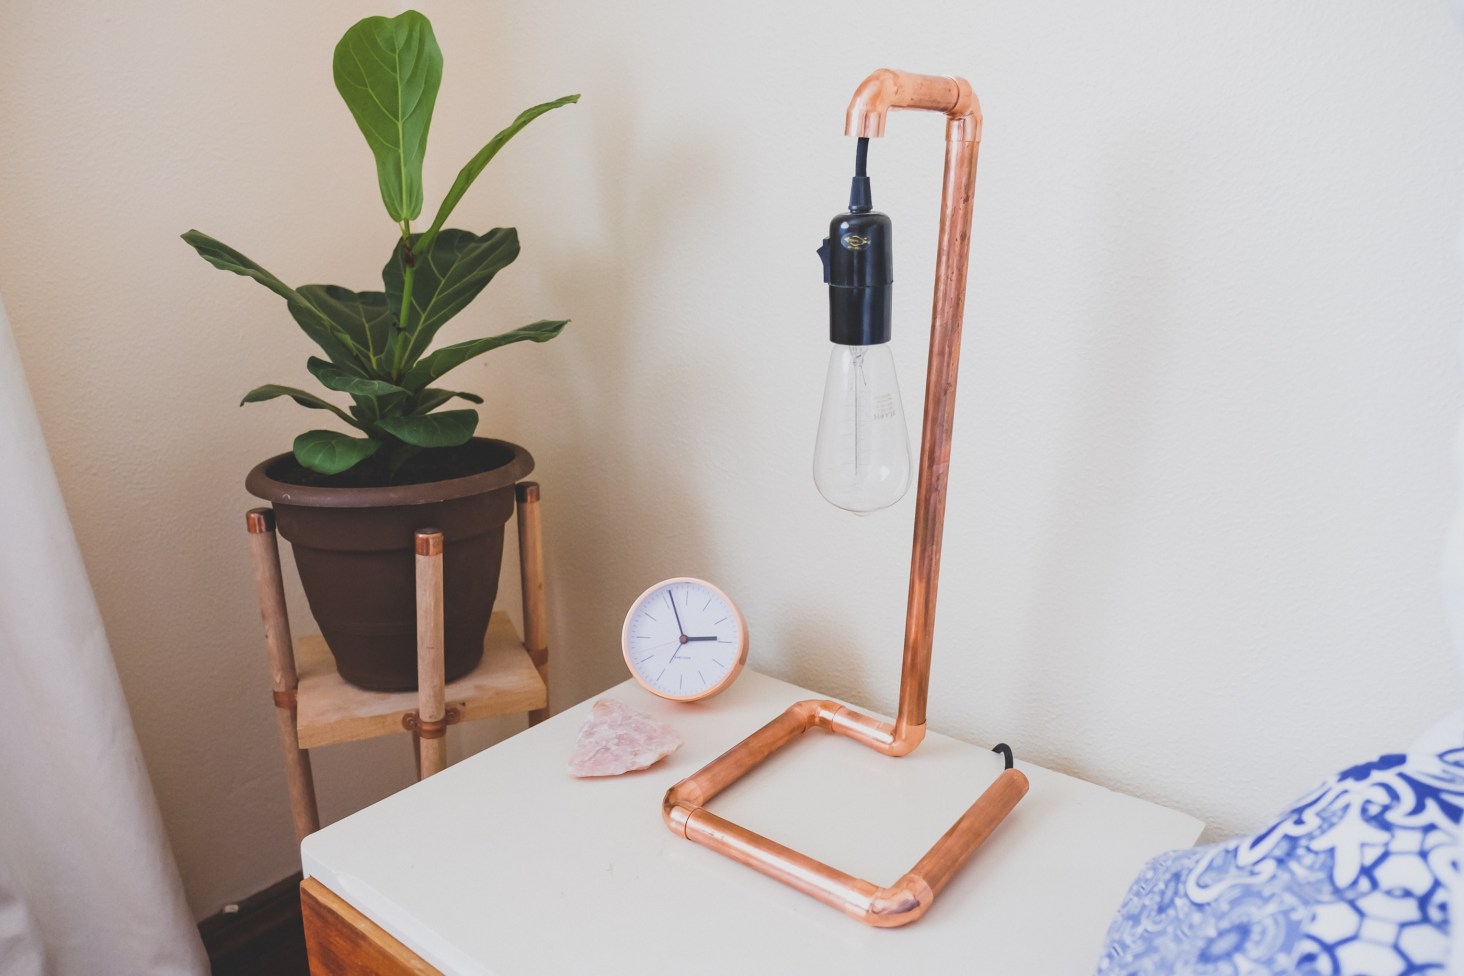
YOU’RE DONE! Told you this is a super simple Copper Light DIY. I now have my eye on more copper pipe DIY’s including some for the wedding and another light fitting.


*The items featured in this blog post were very kindly sponsored by Builders Warehouse.
